
How to Prepare Garden Soil Step by Step
Test your soil, clear the bed, loosen it 8-12 inches deep and work 2-4 inches of compost into the top 6-8 inches. Adjust pH based on your results, then let the bed settle for 1-2 weeks before planting.
 By the Backyard with Ben teamUpdated · 8 min read
Quick answer
To prepare garden soil, test pH and nutrients first, then clear weeds, grass and debris. Loosen the soil 8-12 inches deep when it's moist but not wet, work 2-4 inches of compost into the top 6-8 inches, and adjust pH with lime or sulfur based on your test. Rake it level and let it settle 1-2 weeks.
To prepare garden soil, test it, clear the bed, loosen compacted ground and mix compost into the root zone, then fine-tune pH based on your results. Most struggling gardens don't have a plant problem; they have a soil problem, and this work happens before a single seed or root ball goes into the ground.
Good soil isn't something you buy in a bag once and forget about. You build it: the right texture, nutrients and structure for roots to spread out and do their job.
This guide walks through preparing garden soil step by step, from testing what you're starting with to the final rake before planting day.
Key Takeaways
- Test your soil's pH and nutrient levels before adding anything; guessing wastes time and money.
- Identify whether you have clay, sandy or loamy soil using a simple squeeze test.
- Clear the bed completely, including grass roots and old debris, before loosening the soil.
- Work compost into the top 6-8 inches of soil rather than just sprinkling it on top.
- Adjust pH with lime or sulfur based on your test results, not a general guess.
- Let amended soil settle for 1-2 weeks before planting so it can integrate properly.
How Do You Test Garden Soil?
Use a home soil test kit for a quick pH and rough nutrient reading, or send a sample to your county extension office for a lab test with specific amendment recommendations. Do this before you buy a single bag of compost.
Home kits give you pH plus approximate nitrogen, phosphorus and potassium levels. Extension lab tests are more accurate and usually come back with recommendations tailored to your soil, not just general ranges.
Most vegetables and flowers grow best at a pH between 6.0 and 7.0. Soil outside that range can lock up nutrients even when they're present, so plants struggle in soil that looks rich and dark.
Test in early spring before planting or in fall after the season ends. Either window gives amendments time to work before you need the bed.
Take samples from four or five spots in the bed, about 4-6 inches deep, and mix them in a clean bucket before testing. One scoop from one corner won't tell you much about the whole bed.
What Type of Soil Do You Have?
Squeeze a handful of moist soil: if it forms a sticky ribbon it's clay, if it crumbles apart it's sandy, and if it holds a ball that breaks with a light poke it's loam. Texture determines how water and roots move through your soil.
| Soil type | Squeeze test | Drainage | What helps most |
|---|---|---|---|
| Clay | Forms a tight, sticky ball or ribbon | Slow; compacts easily | Compost and other organic matter, added every year |
| Sandy | Crumbles and won't hold a shape | Fast; holds few nutrients | Compost to hold water, plus mulch |
| Loam | Holds a ball that breaks apart with a poke | Good; holds moisture too | A yearly compost top-up to maintain it |
Almost every yard falls somewhere between these three, and the steps below are mostly about nudging clay or sandy soil toward loam. Don't try to fix clay by mixing in sand; unless you add a very large amount, it can make the soil denser. Organic matter is the reliable fix.
Clear the Bed Completely
Skipping this step is one of the fastest ways for a new bed to go downhill. Grass roots, old mulch, rocks and weed roots left behind will keep regrowing and competing with whatever you plant.
Remove weeds by the root, not just the top growth. A weed snapped off at the surface can regrow from what's left underground within a couple of weeks.
If you're converting lawn into a garden bed, you have two realistic options: remove the sod with a sod cutter or flat shovel, or smother it. Smothering means laying flattened cardboard over the grass, covering it with 3-4 inches of compost or soil, and leaving it 4-6 weeks so the grass dies back and starts breaking down.
Break Up Compacted Soil
Compacted soil is a top reason roots stay shallow and plants struggle in dry weather. Roots can't push through dense, packed dirt to reach water and nutrients deeper down.
Work the soil 8-12 inches deep with a garden fork, spade or broadfork. You're not trying to pulverize it; just break up large clumps and open air pockets.
Never work soil while it's soaking wet. Wet soil compacts under pressure instead of breaking apart, undoing the point of this step. Wait until it's moist enough to crumble but not sticky.
In an established bed, a broadfork loosens soil around existing plants without flipping the layers the way a tiller does. If your native ground is solid clay or full of rock, building up instead may be easier; here's how to build a raised garden bed in a weekend.
How Much Compost Should You Add to Garden Soil?
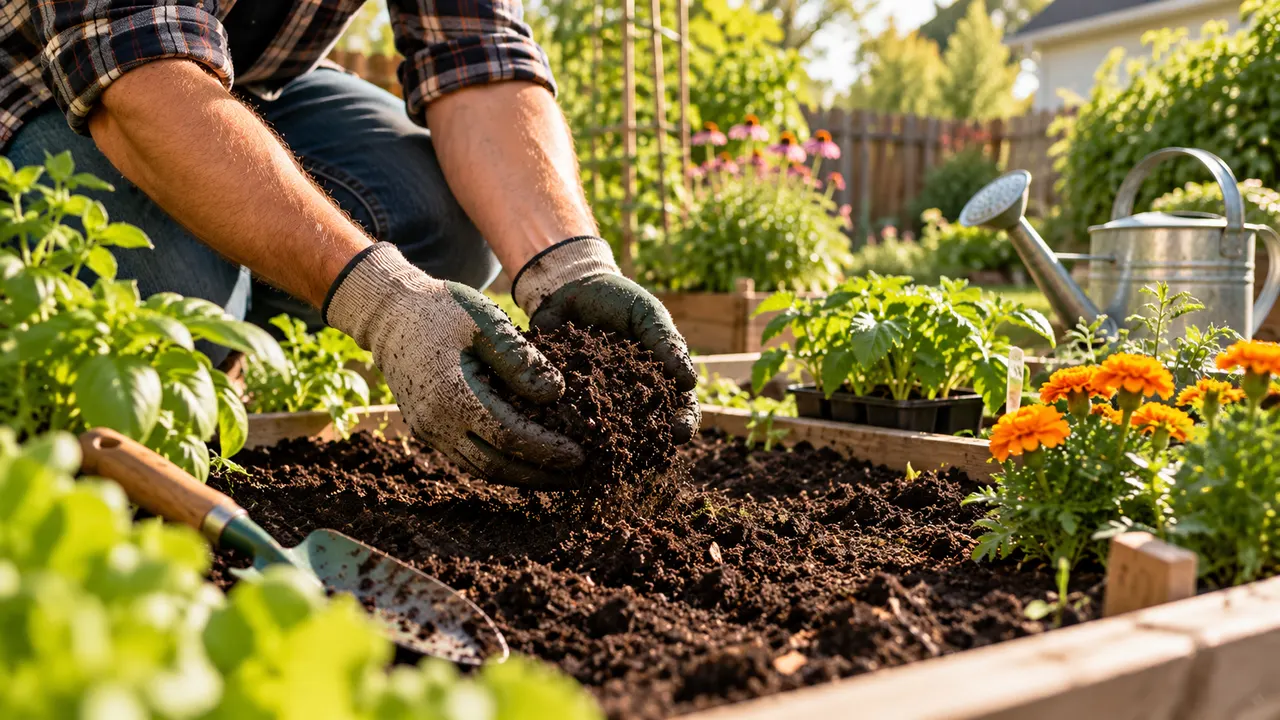
Spread 2-3 inches of compost over an established bed, or 3-4 inches over a brand-new bed on poor or compacted ground, and work it into the top 6-8 inches of soil.
This step does the most for long-term plant health. Compost improves drainage in clay, improves water retention in sand and feeds the soil life that makes nutrients available to roots.
Finished compost, well-aged manure and leaf mold all work well. Avoid fresh manure near plant roots; it's too high in nitrogen and can burn young plants.
A thin layer of compost sprinkled on undisturbed soil looks nice but does little at planting time. It needs to be mixed into the root zone to make a real difference.
Adjust pH and Nutrients Based on Your Results
Once you have test results, amend with a purpose instead of guessing.
If your soil is too acidic (pH under about 6.0), garden lime raises it over time. Lime works slowly, often over a few months, so fall is the ideal time to apply it before spring planting.
If your soil is too alkaline (pH above about 7.5), elemental sulfur gradually lowers it. It also takes time, so several moderate applications beat one heavy dose.
For nutrient gaps, your test report will usually give a specific amount, often in pounds per 100 square feet, rather than a generic suggestion. Follow that number: over-applying nitrogen pushes leafy growth at the expense of flowers and fruit.
Rake It Smooth and Let It Settle
Once amendments are worked in, rake the bed level and pull out any rocks, roots or clumps that surfaced while digging.
Water lightly and, if you can, give the bed 1-2 weeks to settle before planting. That rest lets compost and amendments start integrating with the existing soil. Use the time to check your frost dates and confirm when to plant your garden.
On a tighter timeline you can plant sooner; just check that new transplants haven't sunk or tilted after the first few waterings.
Mulch After Planting to Protect Your Work
All that prep can undo itself if the bed is left bare. Rain crusts and compacts exposed soil, sun bakes out moisture and weeds move into open ground within weeks.
Once plants are in, add 2-3 inches of mulch across the bed, keeping it a few inches away from stems and trunks. It holds in the moisture and loose structure you just created and moderates soil temperature for young transplants.
Good Soil Prep Pays Off All Season
Learning how to prepare garden soil is less exciting than picking out plants, but it decides how well those plants thrive. Test first, loosen compacted ground, work in real organic matter and adjust pH based on facts, and roots have what they need before they're even in the ground.
Skipping soil prep is one of the most common gardening mistakes that cost you time, money and blooms. Do this work at the start of the season and you'll spend far less time nursing stressed plants later.
Frequently Asked Questions
How long does it take to prepare garden soil?
Clearing, loosening and amending a typical backyard bed usually takes a weekend. If you're adjusting pH with lime or sulfur, allow a few extra months for those amendments to take full effect.
Can I prepare garden soil without doing a soil test?
You can, but you'll be guessing at pH and nutrient levels. A home kit or a low-cost extension office test removes most of the guesswork and tells you exactly what to add, and what you can skip.
What's the best time of year to prepare garden soil?
Early spring, a few weeks before planting, and fall, after the season ends, are both good windows. Fall is especially useful if you're adding lime or sulfur, since they need months to shift pH.
Do I need to till my soil every year?
Usually not. Tilling every season can break down soil structure and disrupt beneficial fungal networks over time. Many gardeners get better long-term results topping beds with compost each year and only deep-loosening when the soil actually feels compacted.
Is garden soil different from potting soil?
Yes. Garden soil is your yard's native ground, improved in place, while potting soil is a lightweight, usually soilless mix made for containers. Using potting mix to fill an in-ground bed, or garden soil in a pot, often leads to drainage or compaction problems.
Published · Last updated . Written by the Backyard with Ben team from standard, widely published guidance. About us.
More for your backyard
Gear up with our top-rated tool picks, shop the look if you'd rather buy than build, or read a related guide. See all Gardening guides.
Related guides
 AI-generatedDIY Projects
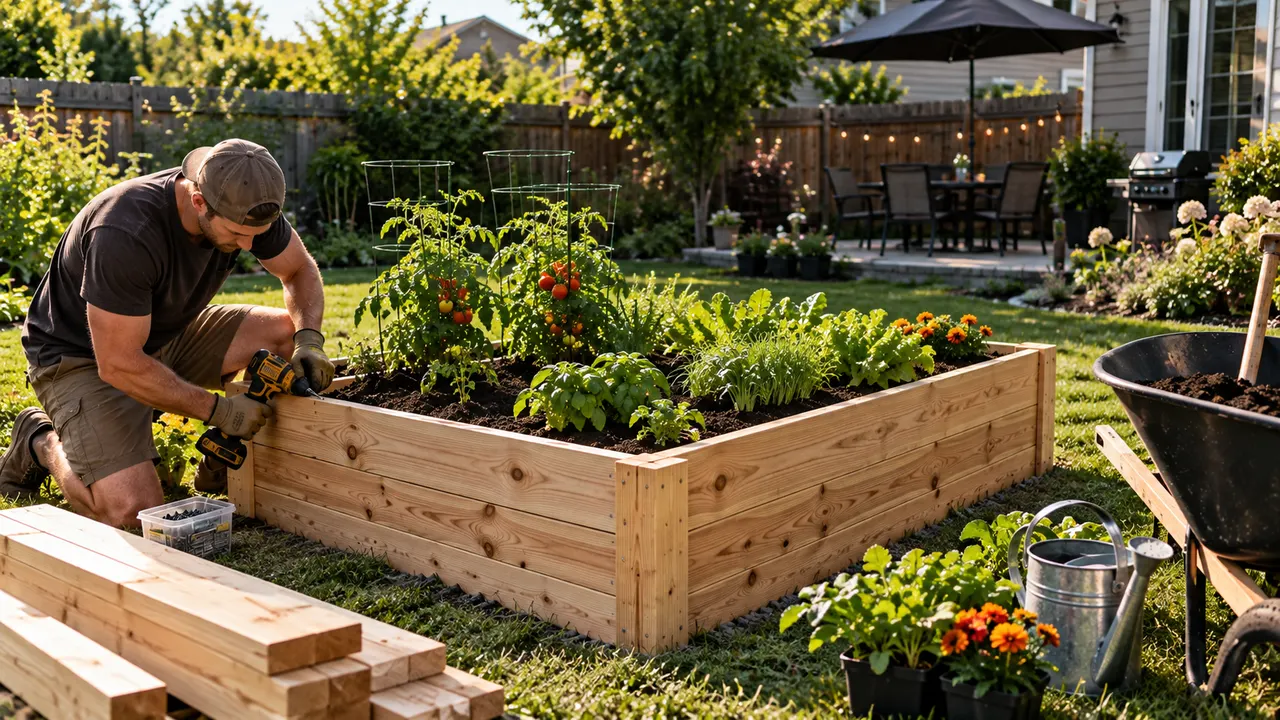
How to Build a Raised Garden Bed in a Weekend
To build a raised garden bed, screw four 2x10 boards of cedar, redwood or untreated pine into a 4-by-8-foot frame, level it on cleared ground, line it with cardboard and fill it with a topsoil and compost mix. It takes about a weekend with a drill and basic tools.
 AI-generatedGardening
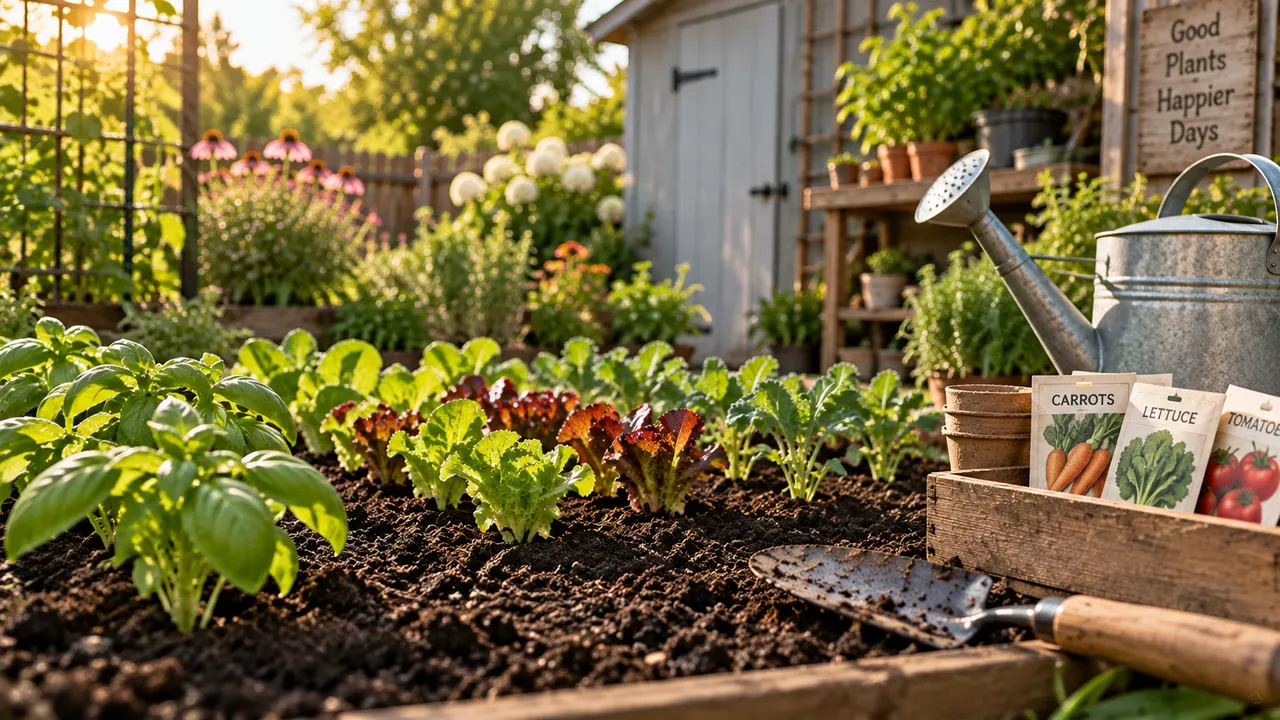
When to Plant a Garden: A Simple Guide for Every Season
Plant by your local frost dates, not the calendar: cool-season crops go in 2-4 weeks before your last spring frost, and warm-season crops follow 1-2 weeks after it, once soil reaches about 60°F.
 AI-generatedGardening
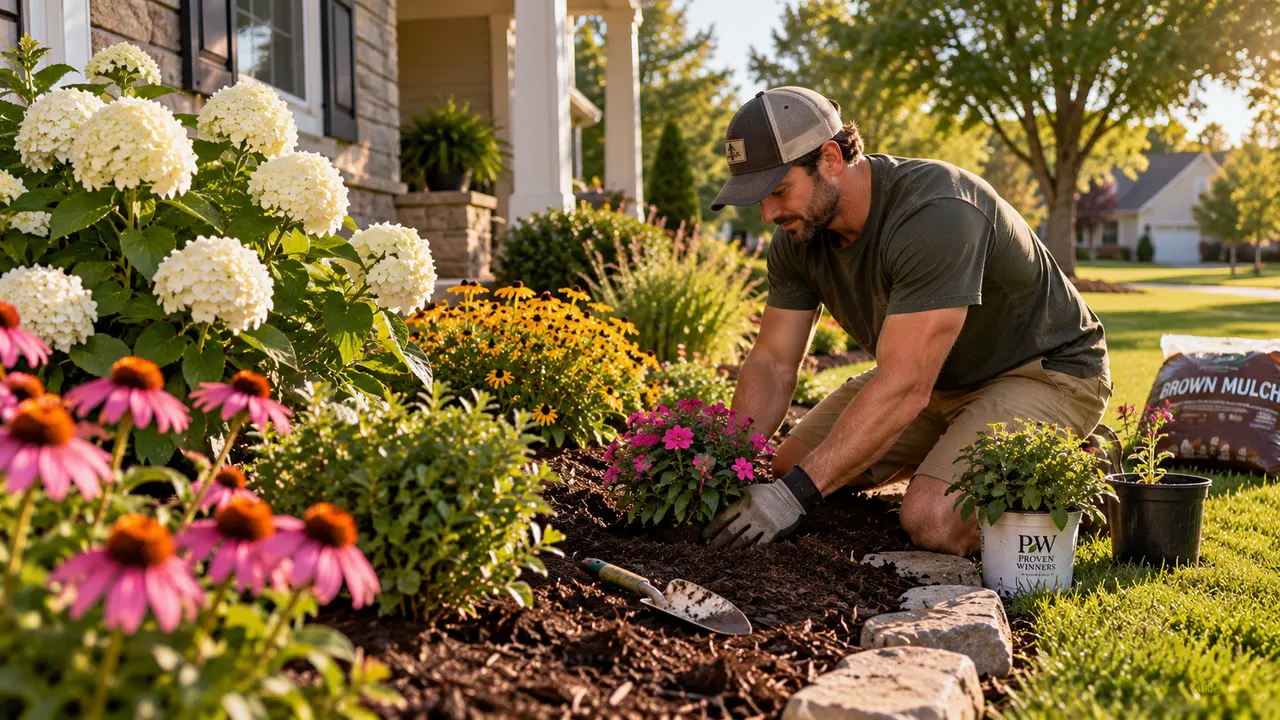
7 Gardening Mistakes Costing You Time, Money and Blooms
The gardening mistakes that cost the most are buying plants without a plan, using worn-out tools, skipping deadheading, guessing at fertilizer, overpaying for mature plants, ignoring bloom time and skipping soil prep. Each has a simple fix.